There are two main ways to set up and use NordVPN on your Apple TV:
1. Using the NordVPN app directly:
This is the easiest and most straightforward method.expand_more Here's how:
a. Download the app:
- Go to the Apple TV App Store and search for "NordVPN".expand_more
- Download and install the app.
b. Set up your account:
- If you already have a NordVPN account, log in using your existing credentials.
- If you're new to NordVPN, you'll need to create a new account.
c. Connect to a VPN server:
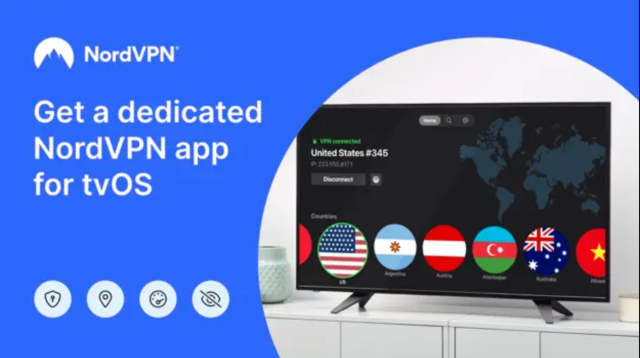
- Open the NordVPN app on your Apple TV.
- Click "Quick Connect" to connect to the fastest available server.expand_more
- Alternatively, you can choose a specific server location from the list.expand_more
- Once connected, you'll see a confirmation message and the VPN symbol will appear in the top bar.exclamation
2. Using NordVPN Smart DNS:
Smart DNS allows you to access region-locked content without encrypting your entire internet traffic.expand_more This can be useful if you only need to bypass geo-restrictions and don't require full VPN encryption.
Here's how to set up Smart DNS:
a. Enable Smart DNS in your NordVPN account:
- Log in to your NordVPN account on their website.
- Go to the "Services" section and select "NordVPN"
- Click on "Smart DNS" and activate it.
- You'll receive a list of DNS server addresses.
b. Configure your Apple TV:
- On your Apple TV, go to "Settings" > "Network".expand_more
- Select your Wi-Fi network.expand_more
- Click on "Configure DNS" and choose "Manual".expand_more
- Enter the primary and secondary DNS server addresses provided by NordVPN.expand_more
- Click "Done" to save your changes.exclamation
Additional notes:
-
Using the NordVPN app is generally recommended as it provides full privacy and security benefits.
-
Smart DNS is a simpler option but doesn't offer the same level of encryption and security as the VPN app.expand_more
-
NordVPN offers detailed guides and tutorials on their website for both methods. You can find them here:


